Sunday, February 27, 2011

English Paper Piecing Tutorial, Part II

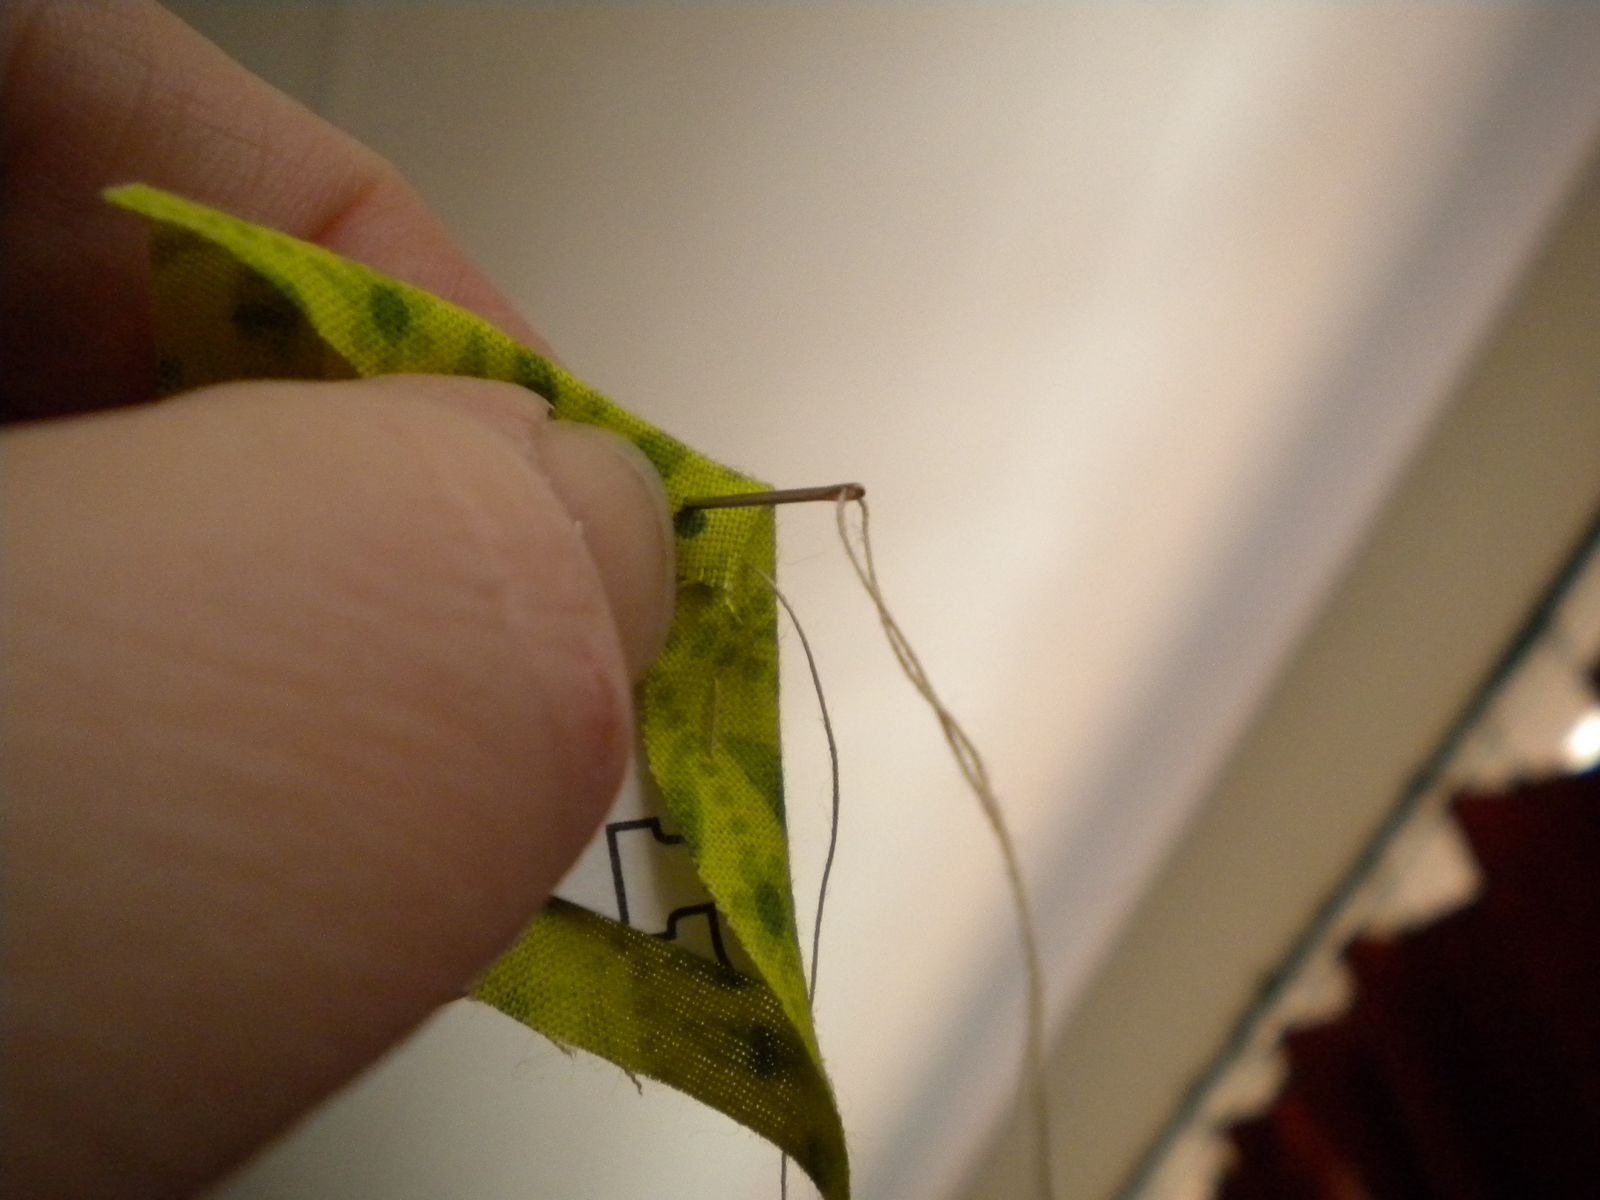
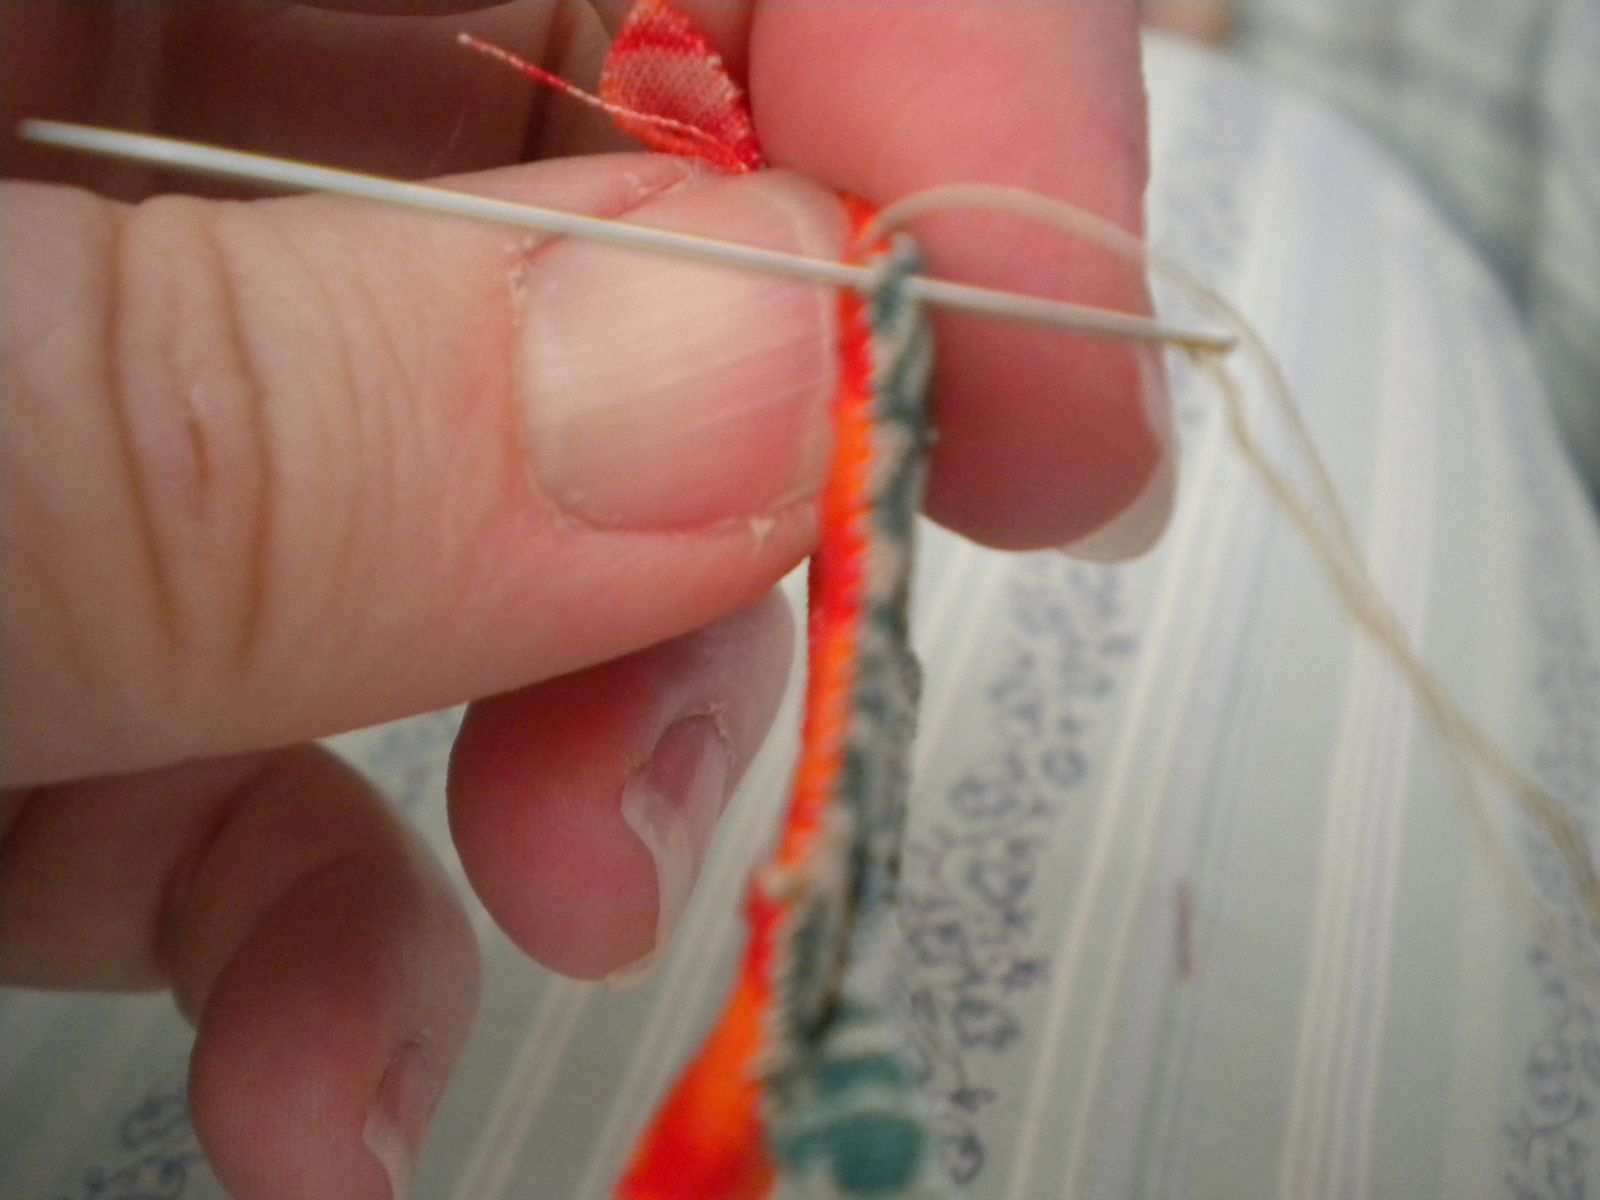
Now we will begin to sew one block unit. We begin with two diamonds, held right sides together. I have a dark and a medium one here. You will need to pay attention to the placement of darks, mediums, and lights.  By the way, I was still in my pajamas as I photographed this, so forgive the background. You begin about a quarter inch from the point, and whipstitch toward the point.

After you get to the point, you turn around and whipstitch to the end of that side (middle point.)

When you have reached the middle point, you may take a backstitch to secure it.

Now here we are, open the two up. Get ready to add the last diamond to the block.

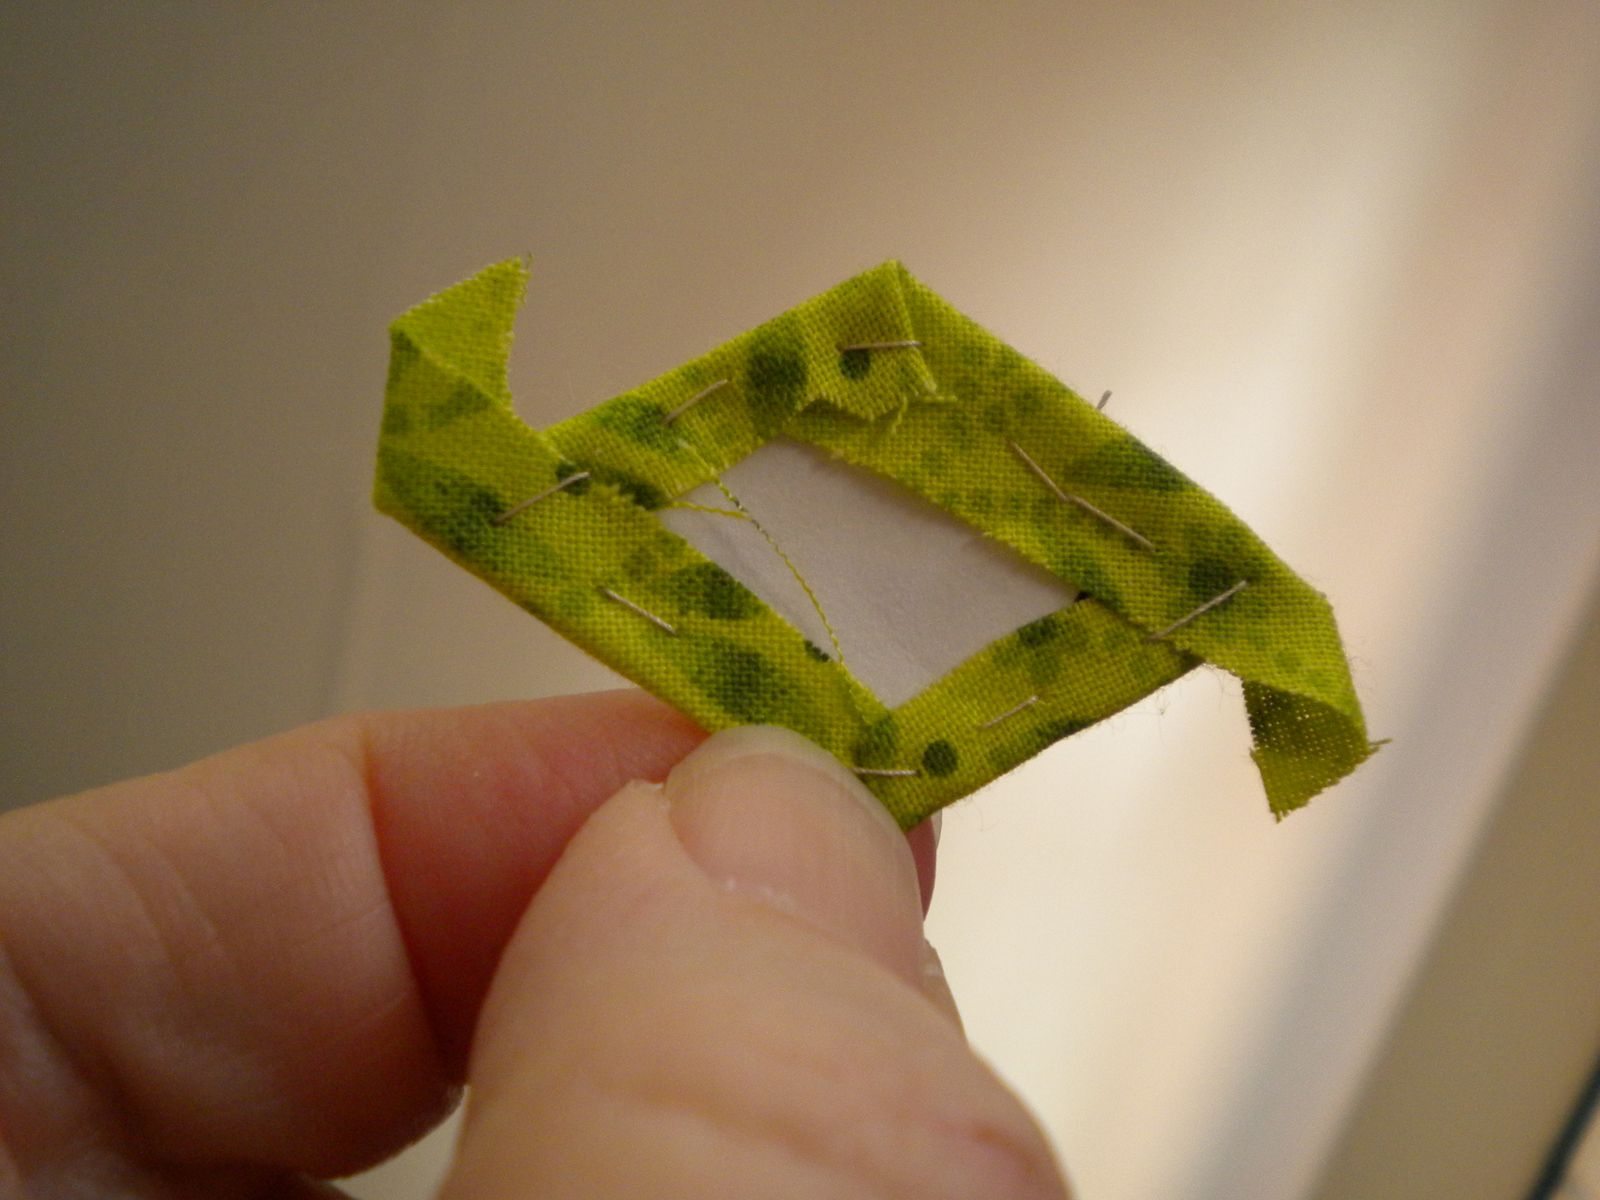
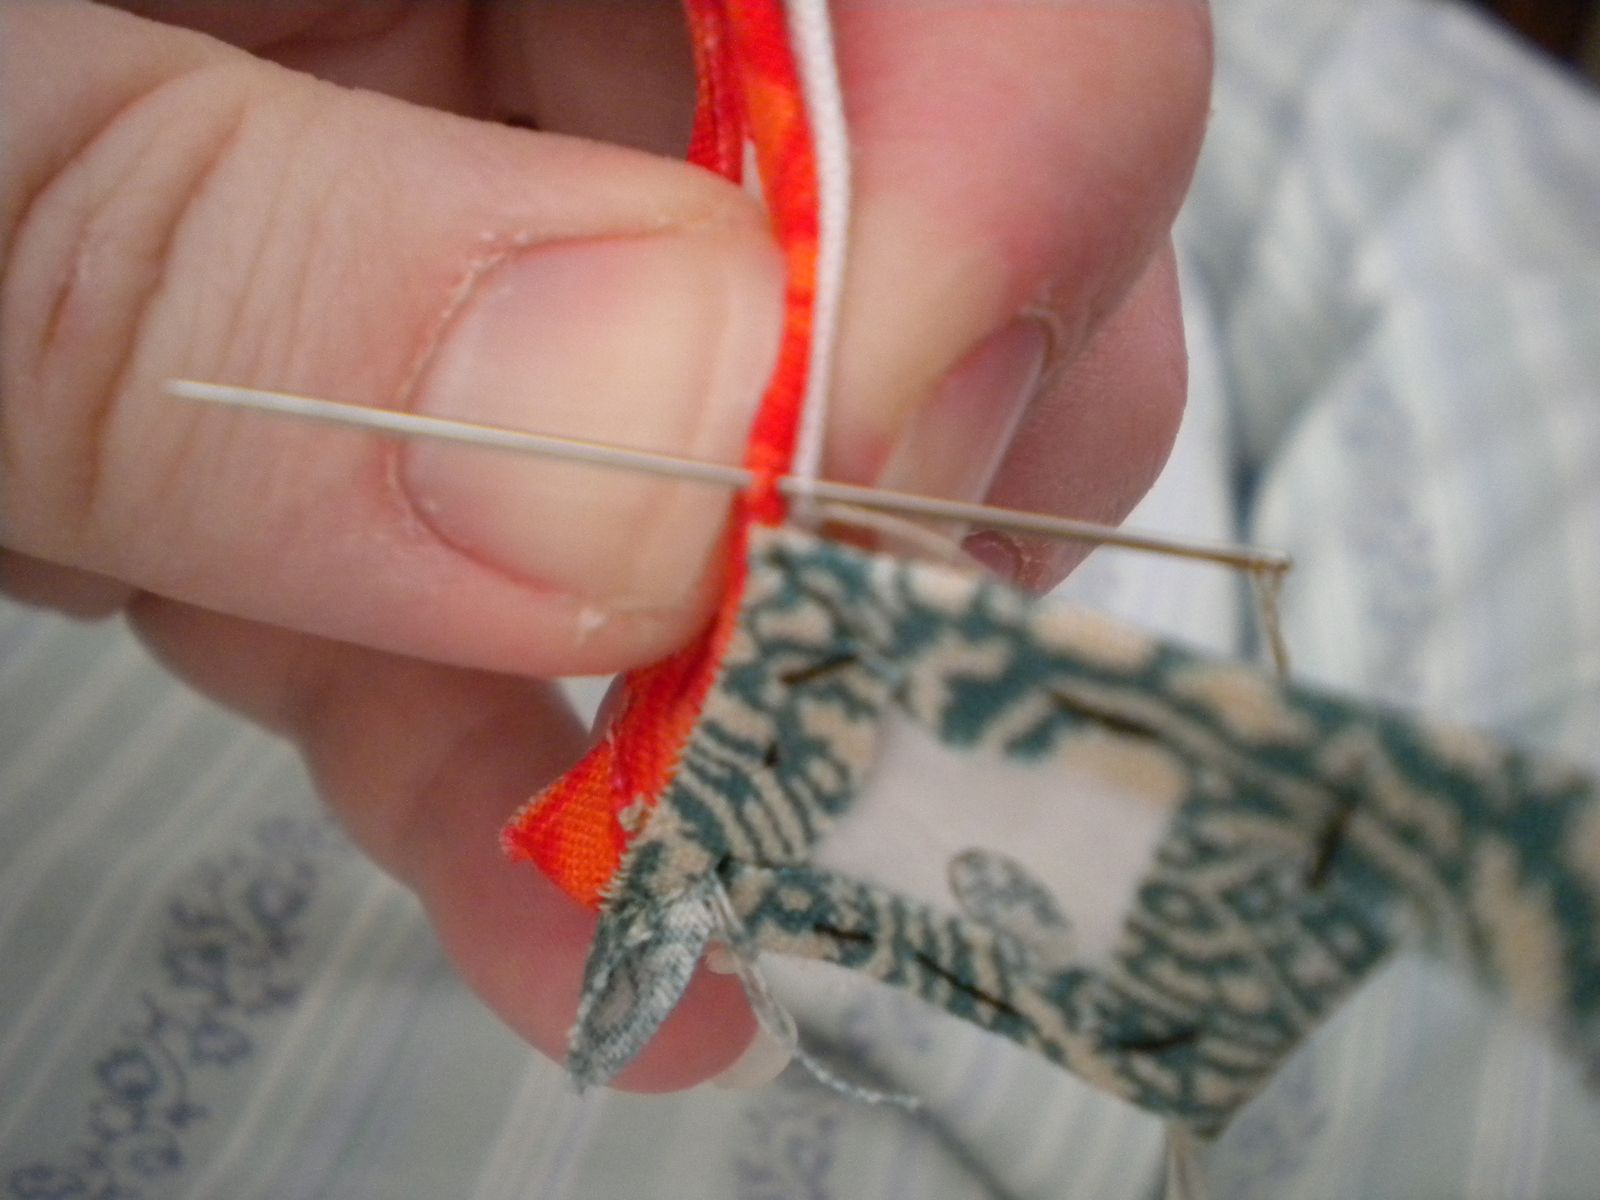
I am now adding the light diamond. Pinch it together along one of the sides.

Here is a semi-bad shot of the other side. By the way, I know, my nails look pretty rough! Try to take better care of your nails than I do.

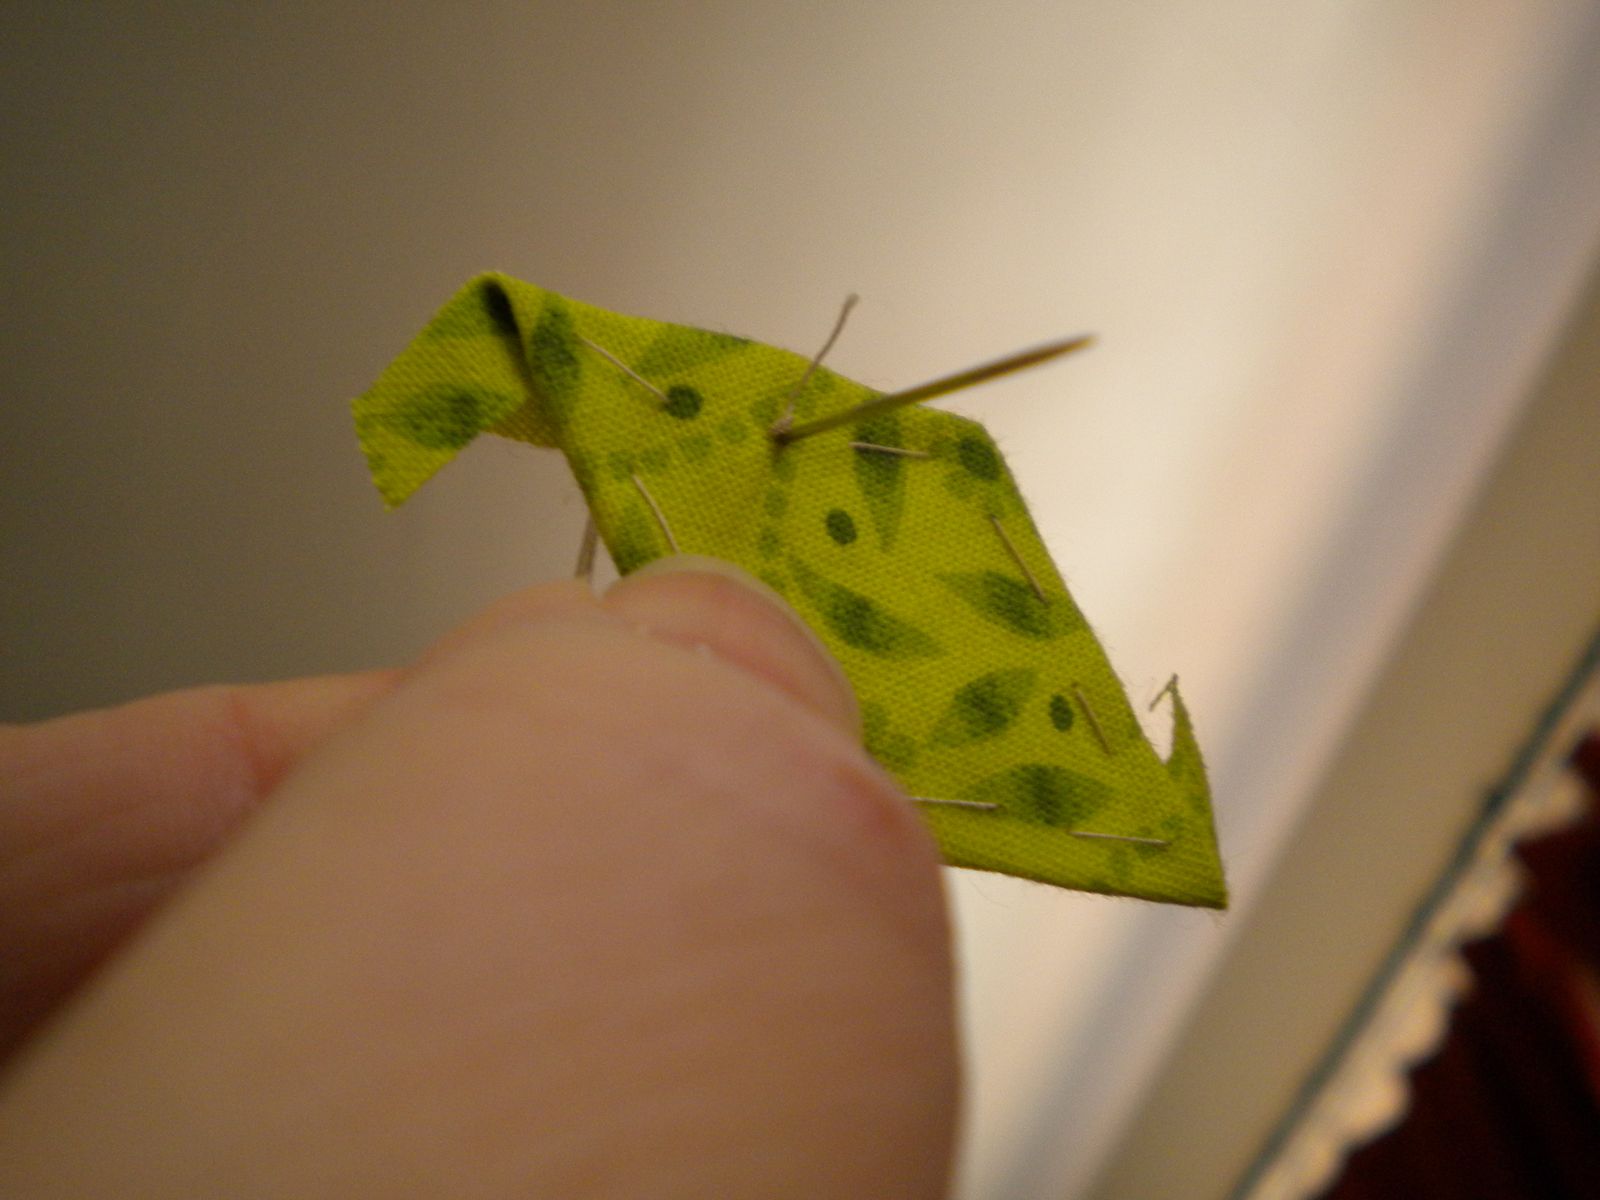
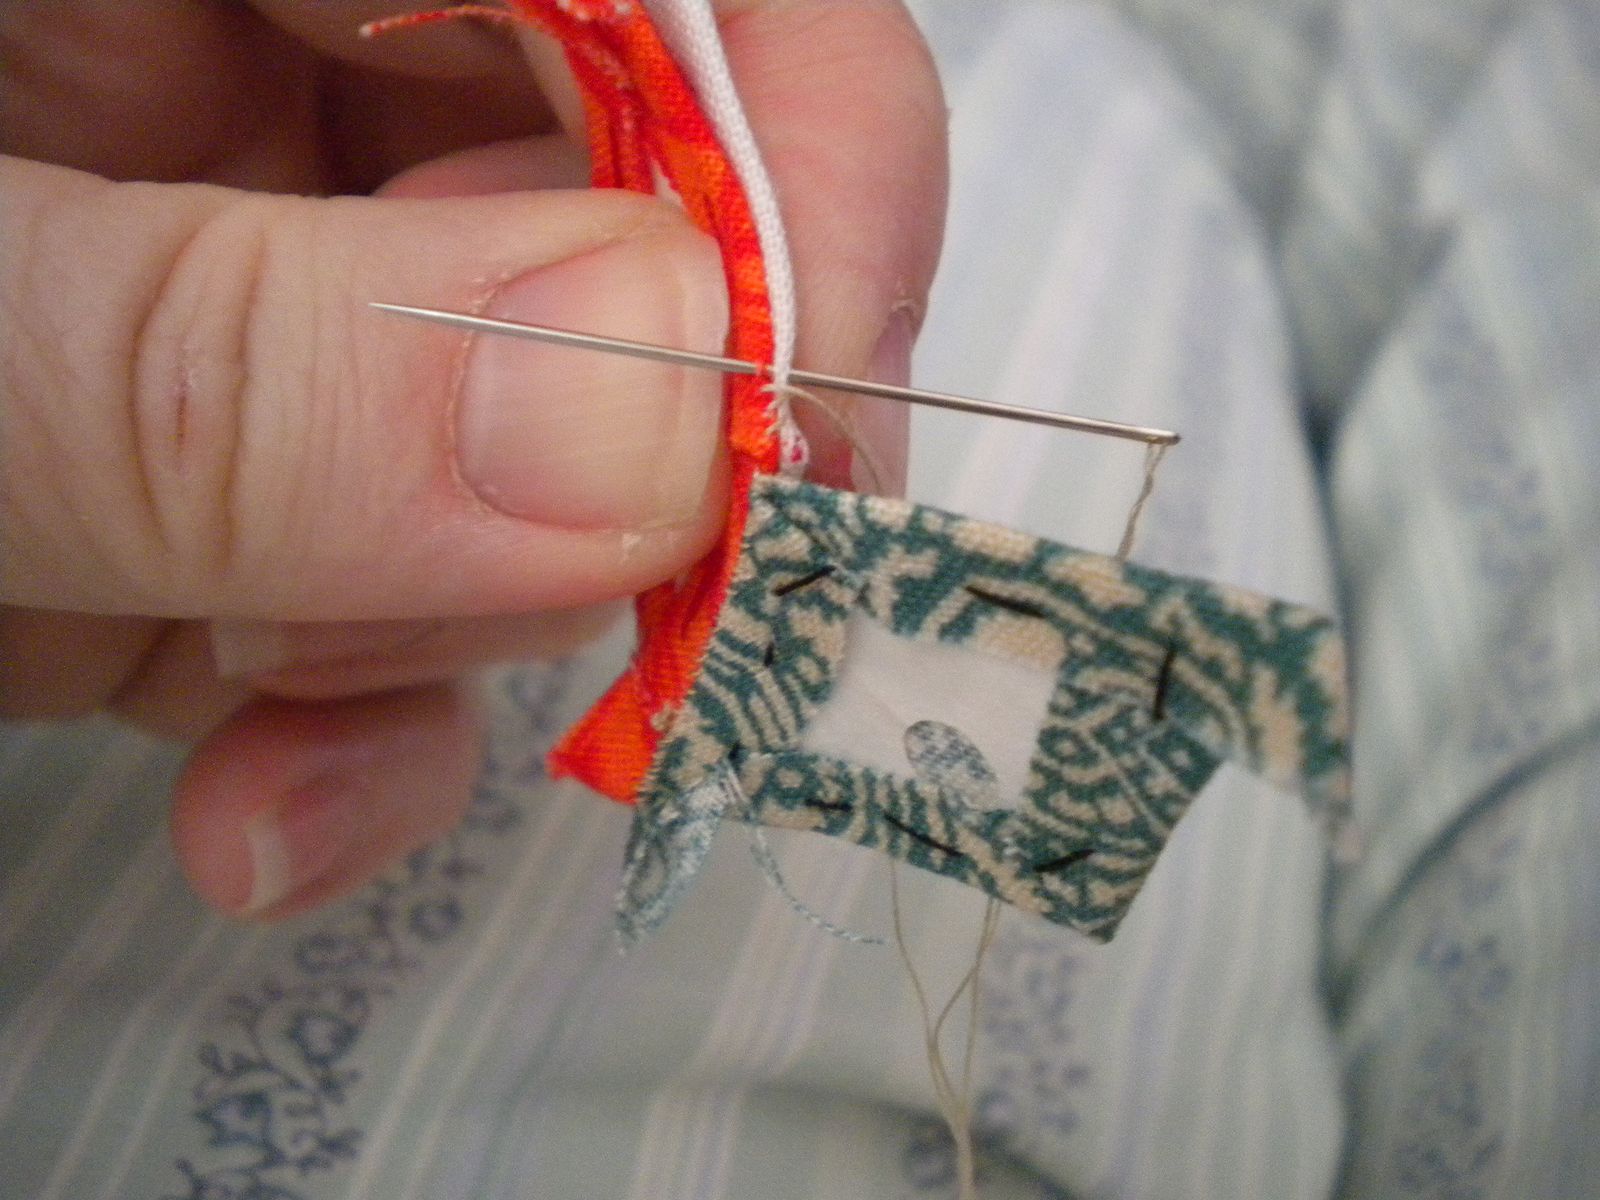
Now you go through from one of the joined middle points, to the corresponding middle point of the newly added diamond. I like to go back through and grab the other point too, so that all three points are joined.

Like this...

Then you simply whipstitch out to the end point. Take some secure stitches there and cut your thread.

Now you have one seam left to close.

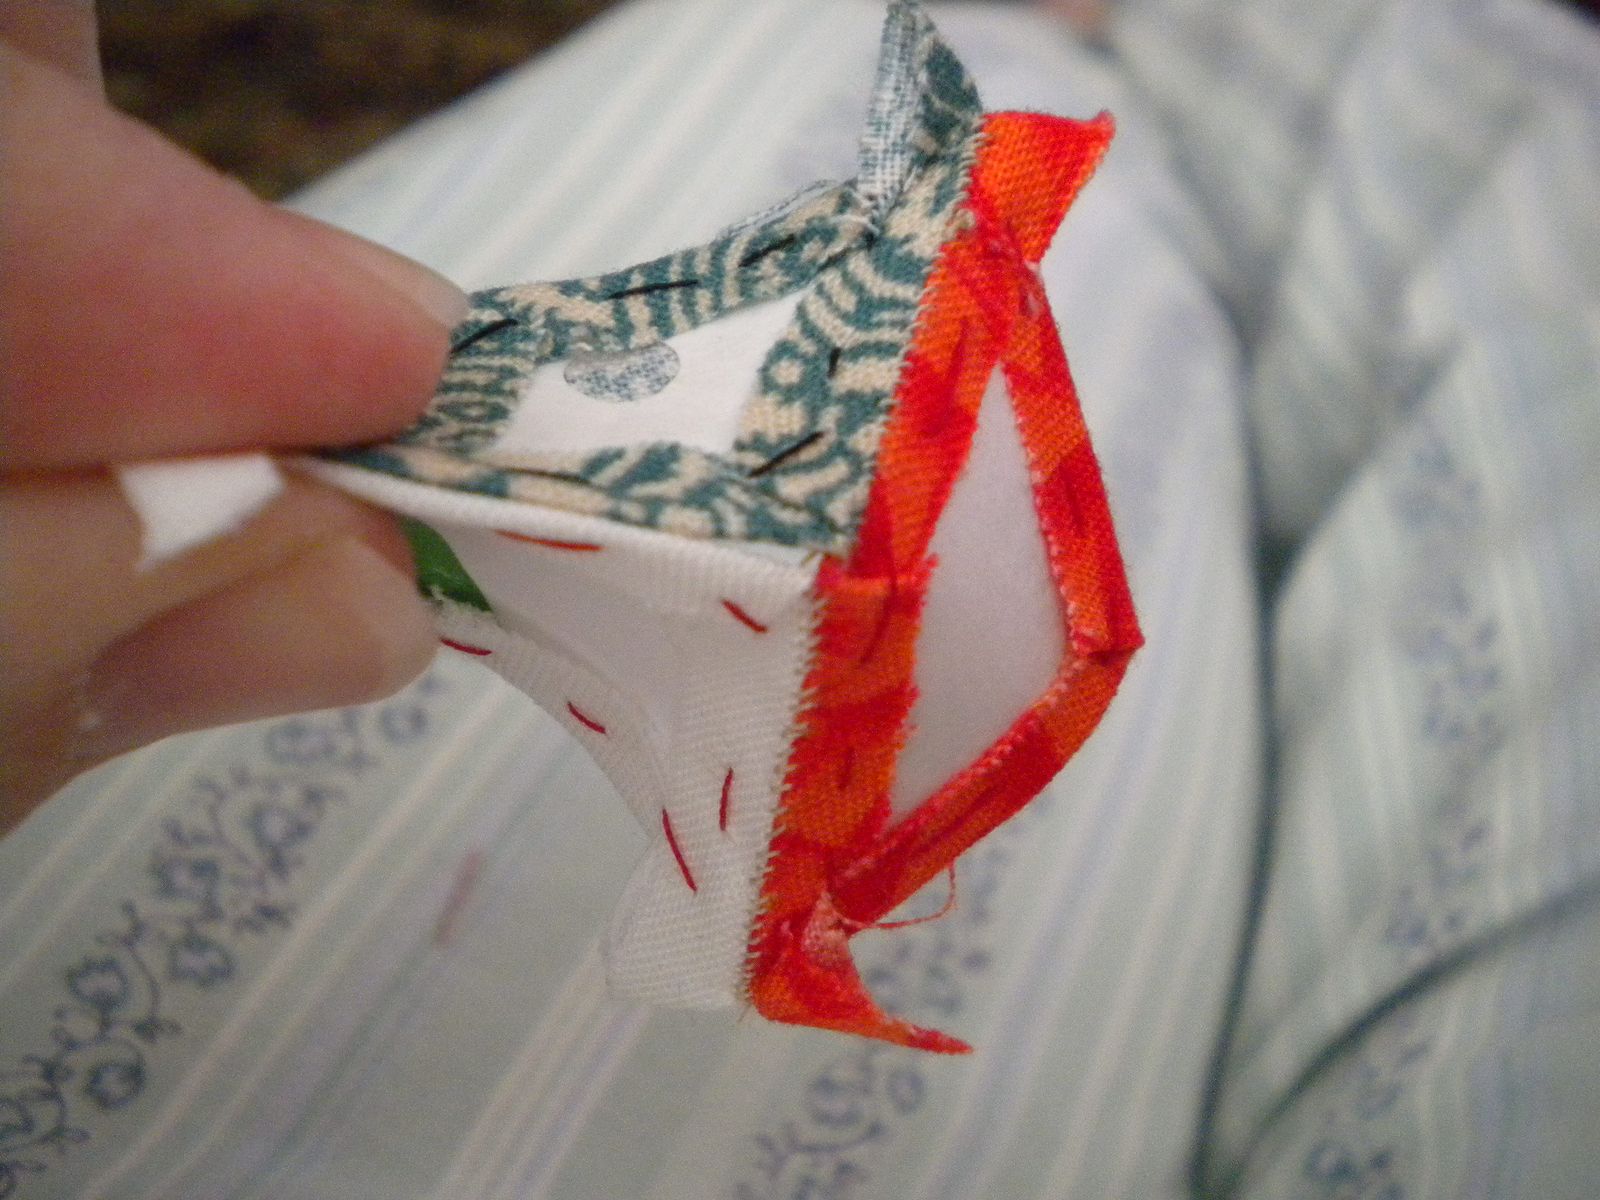
Pinch them together, with right sides facing each other as usual.

Once more start a quarter inch out from the point, (I think this is so that the knot is not in the point), and continue on to the point.

When you get to the point, try to join all three points,

like this...

Then you simply turn around and whipstitch out to the farther point.

All the way to the point...

When you get to the point, you finish off with secure stitches and cut your thread, unless you are joining something else to it.

Finishing.

Now you have a completed block unit. Your color placement will depend on what you are doing. If you are going for a star, it will be different from mine. I am going for the 3-D tumbling blocks look.
Well, this is basically it. If you have any questions, please post them in the comments and I will answer to the best of my ability.
Julie

English Paper Piecing Tutorial, Part I


For English paper piecing, you must first have a template. I have made mine from magazine insert cards. There is a website called http://www.printablepaper.net/ where you can actually download .pdf files of octagons, hexagons, and diamonds. HERE is the link for the one I use. Print it on cardstock and you have your own templates. Now cut out a piece of fabric that is about 1/4" or a little more larger than the template.
This one is a bit ragged, but it doesn't matter, as long as it is big enough to baste down on all sides. If you are new to this, you may want to use a small pin to hold the paper in place.
Begin to baste by folding down one side of the fabric over the paper template.

Now you begin with a threaded needle, make sure your thread is knottted at the end. While holding it paper side up, with one side folded, you come up through the entire thing from the other side, You want the knot to be on the fabric side.
Now you go back down like so. At this point you want to stop and fold down the next side.
It is important to come up again right beside the fold.

Now you go back down again to baste the fold into place. After this you will take a couple of basting stitches toward the point, but not too far. You don't want to get under the next fold.
Here is the next fold. There will be a chicken-head looking thing sticking out. That is what you want. Once more you want to bring the needle up beside the fold.

Now you go back down again toward the point, to baste that point into place.
This is what it should look like. You still have that chicken head. After this, you simply continue around the diamond.
You will finish by going through and turning the diamond over, so that you see the fabric side only. You will then make a knot or take a couple of big stitches to hold it in place. Keep in mind that you will need to remove the knot later from the fabric side, so it is good to have that knot on top.
This is what mine looks like on the paper side.
And here it is again on the fabric side, complete with two knots.
Here are a few more. You may find it helpful to use a single hole punch on your templates to make them easier to pop out of the fabric later. I have done that in the past as you can see, but don't do it on my newer templates.

Stay tuned for part II, where we will begin to stitch them together.
Julie

Saturday, February 26, 2011

English Paper Piecing

I have been working on this project for a while now.

English paper piecing is fun! I love this little project. I will be adding a tutorial for this in my next post. In the meantime, here are some pictures to show you one of the scenic wonders of this part of the world.


Yes....it is scenic Mt. Washmore!!! I have this huge pile of clothes on my sofa that need folding. As you can see, Cabalito has reached the summit. Ugh, I hate laundry.
Laundry makes me a little crazy.

See you next time!!!
Julie

Thursday, February 24, 2011

Quilt Retreat

Every spring my quilt guild has a retreat. We have been going to the Charlie Elliott Wildlife Center in Mansfield, Georgia. It is such a nice place, and we have so much fun. Last year I made these paper-pieced barking dog blocks. I have since then completed the top, but have not quilted it. I have been stagnant in my quilting life for the last couple of years. However, I am coming out of it. I have been mostly doing some handwork, but have also been venturing down to my sewing studio to work on some maple leaf blocks. I have a gazillion of the blocks, I just need to make them into tops. Yes, tops plural. I have so many of these blocks. I think I can make three tops and one wall-hanging. I am not sure what to do with my barking dog blocks, but I would love to get it finished.

Julie

Monday, February 21, 2011

It's Been a While....

It has been a while hasn't it? Over a year to be exact since my last post. Wow!! I do miss my blog, and still enjoy visiting other blogs. Here are my dear children. My daughter was in the pageant again this year. No wins, but she is still a winner in my book. I have started on a new weight-loss journey. I have quite a ways to go, but I am determined!! It WILL happen this time. I am tired of being overweight. I will keep you posted!
Julie